Showing posts with label eyeliner. Show all posts

01 January 2013

Collection Glitter Gel Eyeliner Review

So, here's my first blog of 2013 and I'll start by wishing you all a happy, healthy and beautiful new year. 

I was out and about in town yesterday to kill some time before the Husband came home from work and, as is usual for me, I found myself in Superdrug wandering up and down the make up aisle, seeing if anything caught my eye.  

I got to the Collection (formerly Collection 2000) stand and was casting my eye over their mascaras when I noticed pretty glittery things out of the corner of my eye. I truly am magpie-like in my love for all things sparkly.  Upon closer inspection I learned that the item in question was "Glam Crystals Dazzling Gel Liner".  The particular branch I was in only had 6 tester shades, of which they had 5 in stock.  

I took a liking to 4 of the shades, but only 3 of them were in stock. I have subsequently ordered the other shade that I wanted from the Collection website.  I will say that the website colour guide & pictures do not fully showcase just how beautiful these liners are.  

There are, in total, 14 shades to chose from so there really is something for everyone. They are, on the Collection website, priced at £2.99 so are not expensive in the least.  You can see the full shade selection here

The shades I bought were: 
Shade 8 - Dancing Queen (Holographic Pink) 
Shade 9 - Pow! (Holographic Blue/Green)
Shade 10 - Retro Chic (Holographic Gold)

© Gemma Peters 2013
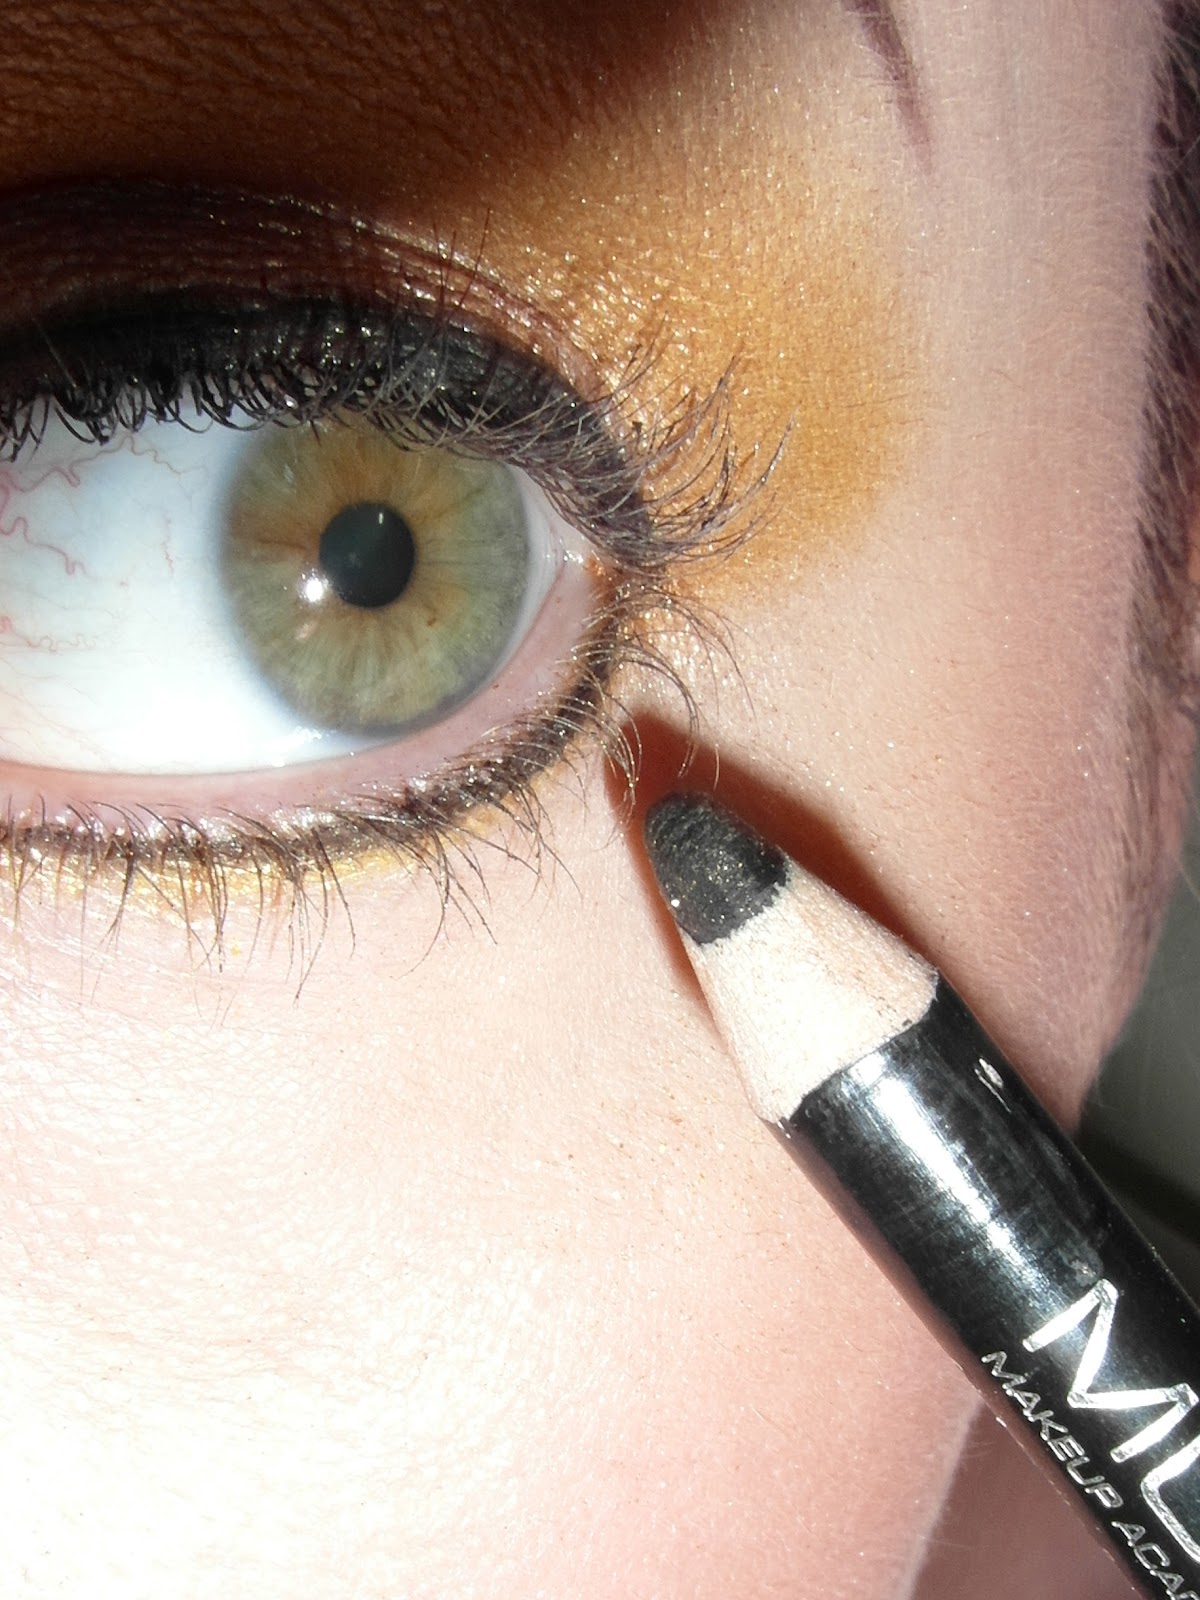
I don't normally bother with glitter liner as I find them really disappointing. They always offer so much promise when in their tubes but the actual glitter payoff when applied is completely different and, quite frankly, not worth while.  

When I saw these in store I couldn't help but notice how fantastically glittery they looked and vibrant too. I was prepared for disappointment but decided to swatch them anyway.  I was so impressed with the glitter payoff.  1 application gave a nice coverage, though still slightly sparse for my liking - however I thought this would be a good adhesive when I do a full glitter eye look.  I applied again and was so happy with the result.  

WITH FLASH
 © Gemma Peters 2013 
As you can see the gel itself is coloured too, which helps add to the colour intensity but, there is so much glitter in the gel, you can see it sparkle from the moment you apply it.  

It's also not one of those glitters that only looks shiny with a light directly on it, they are also super sparkly in natural light too.  

IN NATURAL LIGHT - NO FLASH
 © Gemma Peters 2013

I will definitely be getting more of these liners directly from Collection as, the one downside of this particular product, is that they are not security/sanitary sealed.  Therefore, buying directly from Collection I could, hopefully, guarantee that the items would not have been opened previously - a risk that I am clearly running by purchasing from a store.    


Until next time, stay beautiful.  
Gem


DISCLAIMER
All of the views expressed within this blog are mine and mine alone.  
I am in no way affiliated with any of the companies/products mentioned or their employees. 
All of the products mentioned within this post are mine and were bought and paid for by me.
All images in this Blog are taken by me, unless stated otherwise. PLEASE DO NOT take my photos without my express knowledge and consent. 

27 August 2012

Going For Gold - eye make up tutorial

Hello you lovely lot! 

As promised here is the tutorial to recreate this gorgeous "Going For Gold" eye make up look: 

© Gemma Peters - Make-Up Artist 2012

The products that you will need to re-create this look are: 

© Gemma Peters - Make Up Artist 2012

1)  Make Up Academy (MUA) Pearl Eyeshadow in Shade 1 (£1.00)
2)  Make Up Academy (MUA) Going For Gold Eyeshadow Palette (Limited Edition £4.00) 
3)  Make Up Academy (MUA) Gel Eyeliner in Underground (£3.00)
4)  Make Up Academy (MUA) Intense Colour Eyeliner Pencil in Jet Black (£1.00)
5)  Make Up Academy (MUA) Every Lash Volume & Lengthening Mascara in Black (£3.00) 
6)  Make Up Academy (MUA) Intense Colour Eyeliner Pencil in Snow White (£1.00 not pictured)


Step One:
Load a fluffy brush with the pearl eyeshadow and apply this all over your eyelid, working from your lash line, right up to underneath your eyebrow.  I do this with pretty much any eye look I create as I find it helps to create a really nice base for your other eyeshadows and it also provides a perfect highlight for under the brow and in the inner corner of the eye too.

© Gemma Peters - Make Up Artist 2012
Step Two:
Load Shade 7 (2nd one on the bottom row) of Going For Gold onto the same fluffy brush that you have just used and apply it over your eyelid from your lash line up to the crease. I also blend it into the crease and slightly over as I find this helps to add depth to the overall look. 

© Gemma Peters - Make Up Artist 2012 
© Gemma Peters - Make Up Artist 2012
Step Three:
Using a flat rounded brush load Shade 9 from Going For Gold onto the brush and then gently apply that over the outer 3/4 of your eyelid, over the Shade 7 that is already there.  This really helps to add depth to the colour and gives a deeper shade of gold. I also work this up to (and slightly over) the crease in order to give even more drama to the overall look. 

© Gemma Peters - Make Up Artist 2012

© Gemma Peters - Make Up Artist 2012
Step Four: 
Using a soft angled brush load Shade 5 from Going For Gold onto your brush and then work it into the crease of your eye and outer corner.  This helps add definition and shape to the eye, as well as adding depth of colour (as we are working with colours from the same family).

© Gemma Peters - Make Up Artist 2012
Step Five: 
This is when I define my brows. I appreciate that some people like to do this before they start applying their eye make up, some people wait until the end and some people skip this step altogether. This is just the way I do things.  

© Gemma Peters - Make Up Artist 2012
Step Six: 
Firstly working with the gel liner in Underground (a gorgeous matte black) I apply, at first, a thin line right next to my lash line. I gradually thicken the line in accordance with the sort of look I want to achieve.  For this particular look I did quite a thick line, but did not wing it out.
 
© Gemma Peters - Make Up Artist 2012
Once the gel liner was completely dry (MUA gel liners dry very quickly, so you don't tend to run the risk of getting the line on your eyelid when you look up - definite bonus!!) I applied a thin line of MUA's Intense Colour Eyeliner Pencil in Jet Black to my lower lashes.

© Gemma Peters - Make Up Artist 2012
Step Seven: 
Once completely happy with the eye make up I curl my eyelashes to add some extra definition and to help open up my eyes.

© Gemma Peters - Make Up Artist 2012
I then apply 2 coats of MUA's brand new mascara: Every Lash Volume and Lengthening in black (it smells like apples!!) 
To finish the look I apply a thin coat of MUA Intense Colour Eye Liner Pencil in Snow White to my lower waterline (step not shown). This really helps brighten the eyes and make them pop.  

© Gemma Peters - Make Up Artist 2012
Step Eight: 
Finish the look with a coat of your favourite MUA lipstick or lipgloss.  I chose Out There Plumping Lip Gloss in Shocking Pink. 

© Gemma Peters - Make Up Artist 2012

And that's it. My step by step guide on how to create the dazzling Going For Gold eye look.  

© Gemma Peters - Make Up Artist 2012

Have fun re-creating this look and, if you do, please tag me in the photos or post them to my Facebook Page 

Until next time, 
Stay Beautiful. 
 ~ Gemma <3


At the time of writing this blog the Going for Gold Eyeshadow Palette, Gel Eyeliner and Every Lash Mascara all have £1.00 off of their marked price on the MUA website so head over there and grab yourself a bargain!


DISCLAIMER
All of the views expressed within this blog are mine and mine alone.  
I am in no way affiliated with any of the companies/products mentioned or their employees. 
All of the products mentioned within this post are mine and were bought and paid for by me. 
All images in this Blog are taken by me, unless stated otherwise. PLEASE DO NOT take my photos without my prior knowledge/consent.


Blog Template by YummyLolly.com
Sponsored by Free Web Space